In this lesson you will see that Adobe Photoshop
is not just an image editor, but it is also useful
in creating art work by drawing and painting.
In this lesson we will focus on Painting, but you
can always add to this project if you would like
to try your own drawing.
In this lesson we will be learning how to use the following:
- Use the basic painting tools.
- Use the colors palette, gradients palette,and the patterns palette.
- Use layers to paint the image.
- Use the blending mode, and paint strokes.
- Use the History paint brush, and History palette to make corrections.
- Use custom brushes and settings from the tool options bar.
Save
image to your computer, as" Adventures".
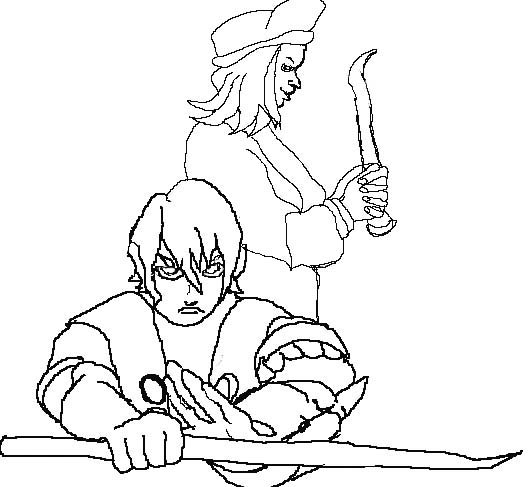
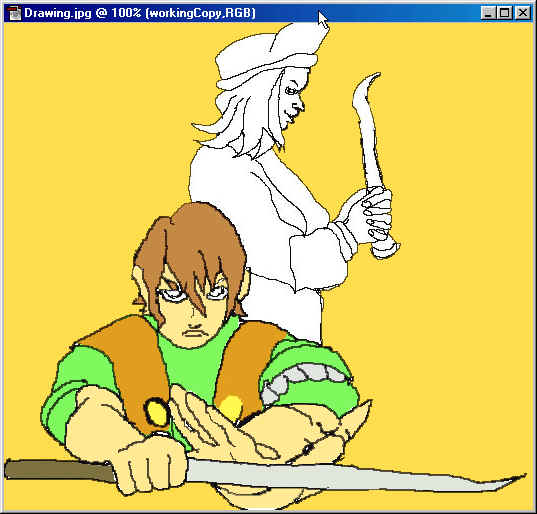
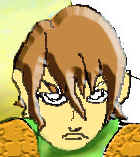
Okay so its not the best drawing, well it's not suppose to be, your going to make the image a complete piece of art.
Choose File> Open>Adventures image.
- Choose
the Paint Bucket
 If
you can't find it on the tool bar you have your gradient
button
If
you can't find it on the tool bar you have your gradient
button on, Left click in the bottom
right hand corner in the little triangle
and select the paint bucket.
on, Left click in the bottom
right hand corner in the little triangle
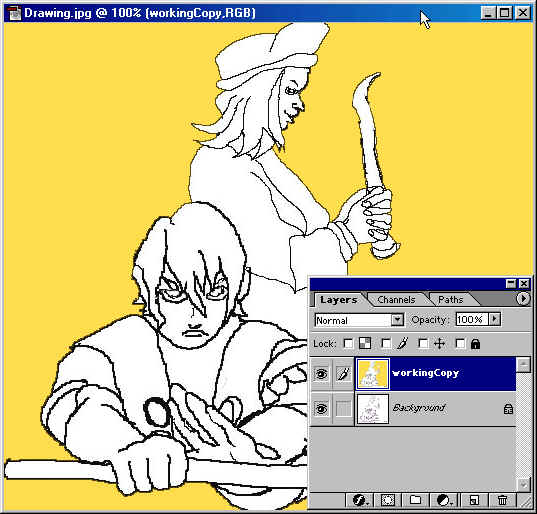
and select the paint bucket. - Use the paint bucket in the background, you will have to click three times to get all of the background covered.
This will allow you to see the character better to work on them.
Don't
forget to make a working Copy in the layers palette.
Next
start working on the characters so we need
to do some blending. This means we need to
create a base color.
Then add a blend color with a paint brush
or editing
tool and the end result is the two
colors together making a blend.
I
created a base coat and to do this I selected
parts of him using Magnetic Tool and saving
them
to a layer in
the layers palette.
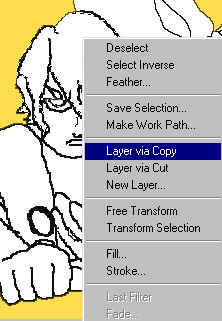
To save a selection
right click on the selection choose Layer
via Copy, it will be labeled in the layers
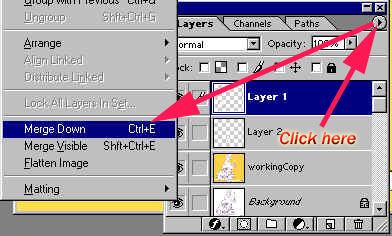
palette layer 1 or 2 depending on how many selection you save. I wanted
my hand selections to be on the same layer,
you have to use the merge down under Layers
Palette to get this result.
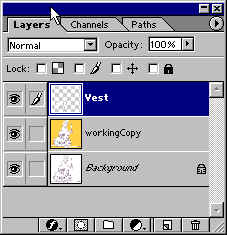
This is what your
layers palette will look like when your done selecting,
naming, and merging.
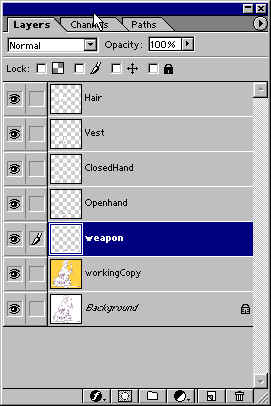
Labeling allows
you to keep track of layers and be able to work on one layer without effecting
others, and it's an effective management
tool.
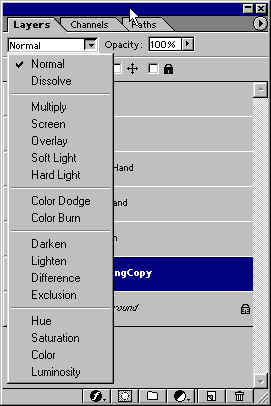
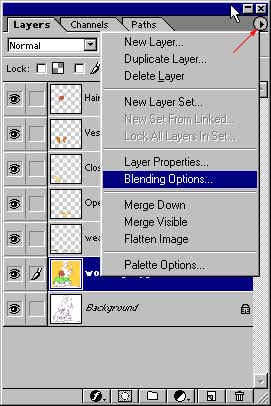
The blending options in the Layer Style dialog box(Photoshop) and the Layer Options palette (ImageReady) let you change a layer's opacity and blending with the pixels underneath.
Keep
in mind that a layer's opacity and blending mode interact with the opacity
and mode of the tools you
use to paint and edit the pixels on the layer. For example,
suppose you are working on a layer that uses the Dissolve
mode and an opacity of 50%. If you paint on this layer using the paintbrush
tool set to Normal mode with an opacity of 100%, the
paint will appear in Dissolve mode with a 50% opacity because this is
the maximum the layer can display. On the other hand,
suppose you are working on a layer created using
Normal mode and 100% opacity. If you use the eraser
tool with an opacity of 50%, only 50%% of the paint will
disappear as you erase.
-From Adobe Photoshop 6.0 online Help-
First: Second:
Blending
Options dialog box:
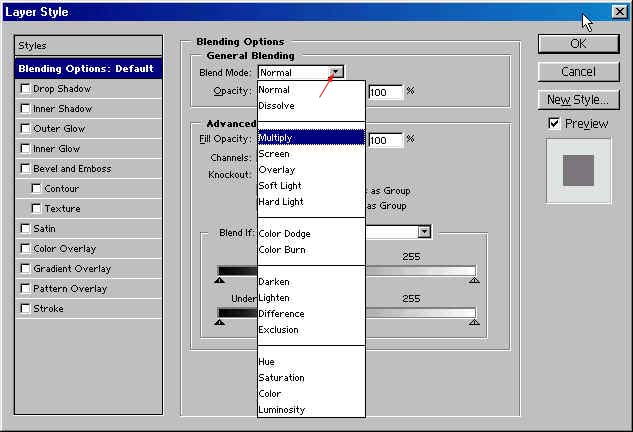
You'll
have to experiment with the options,
I'm going to use the Multiply > Blending
Mode to start with, and I'm using
the Airbrush to start adding my blending
colors with a 80% Opacity. You
could also use the Paintbrush.
I also used the Eyedropper to take a sample
of the color of the
shirt. Then click in the Foreground Color
box and it will open up the color palette. I then chose
a darker color
for my shadows, I will continue to use this
process to complete the project.
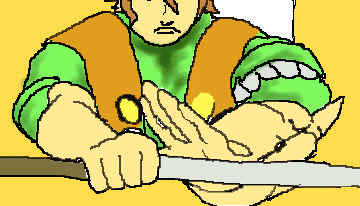
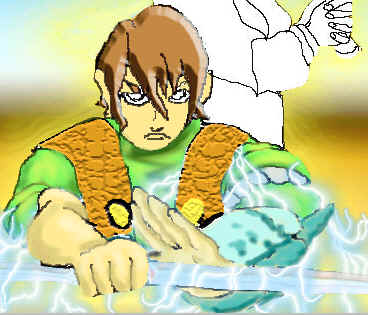
As you can see I started adding
shadow with the Airbrush on the Shirt.
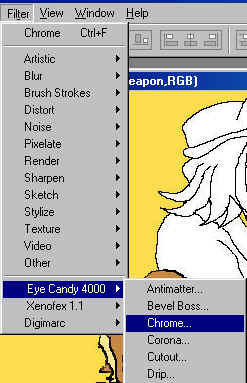
Next, I'm going to use one of my
Plug-ins this one is called"Eye Candy
4000" which is located under
filters( this is a program that you have to purchase separately from Photoshop)
but it's
well worth it. The other
Plug-in that I will be using is Xenofex 1.1,
both when installed will be
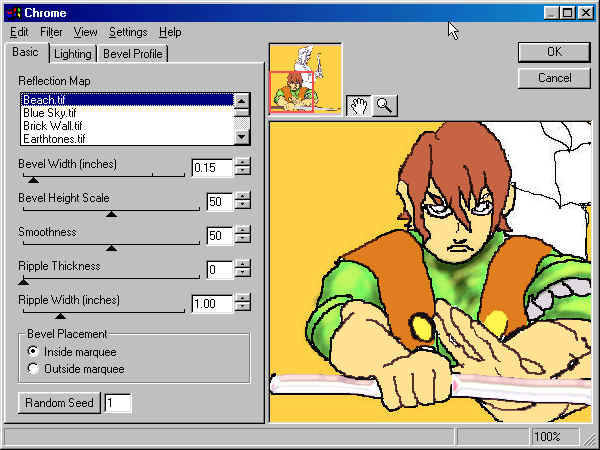
found under your filter button. In this
instance I'm using Chrome and the setting
are below,
you can experiment and create what looks
best to you.
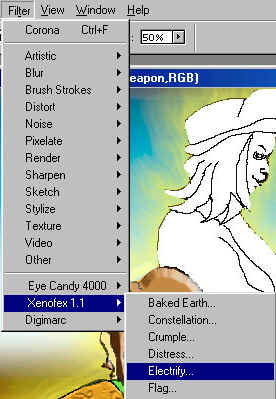
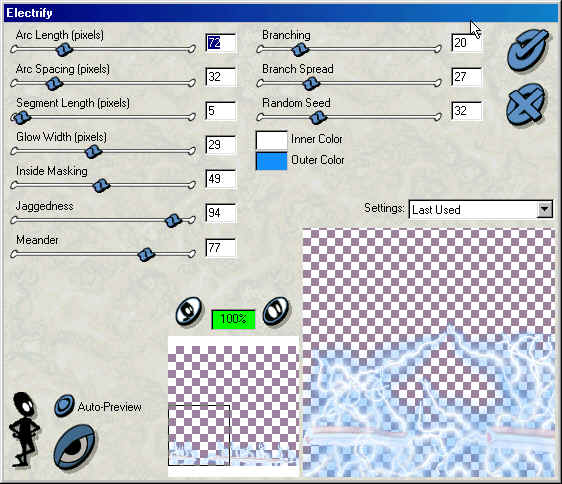
The Next Plug-in
I used is from Xenofex 1.1 and that is Electricity
for the weapon.
Now I'm going to work on the
Vest so in the layers palette, click
on the vest layer.
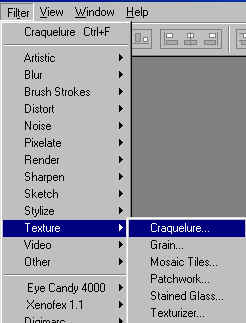
Now go to Filter>Texture>Craquelure,
Try different settings, look at it it the thumb
nail view area, when you like
what you see, click OK.
Now in the Layers
Palette select the Hair layer.
Go to Layer>Layer
Style>Bevel and Emboss.
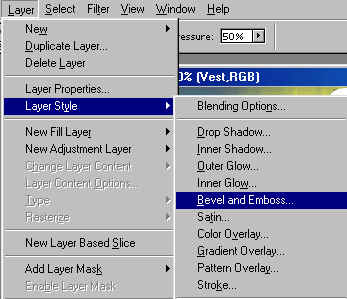
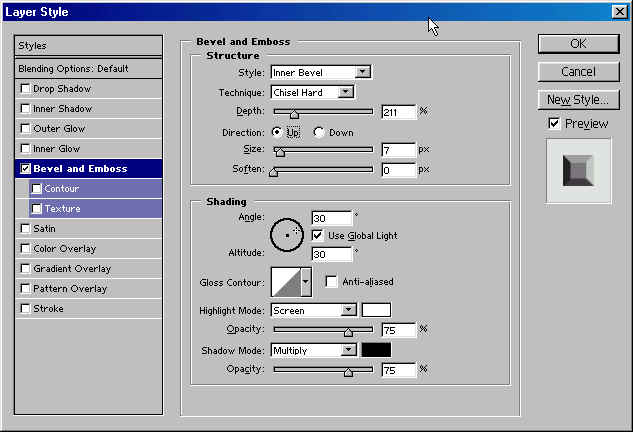
These are the selections that I made for the Hair, Try different settings
and see what you get.
Beveling
gives it a great 3-D effect.
I haven't finished the second character, I'm leaving that up to you!
be a problem. Lets try it.
Select in the layers palette the workingCopy, then go to the tool bar and select the paint bucket for now pick any color, click into the background of the image. If parts of your character have filled in, then you need to use the magnetic tool. Select both characters as one, right click on the selection> Layer via Copy. Now they are on there on layer.
Click
on the background layer(workingCopy)and try
again this time only the background should be
painted.
You can choose any background you like,
I used the Styles palette and click on Chrome
Satin to create a background effect.
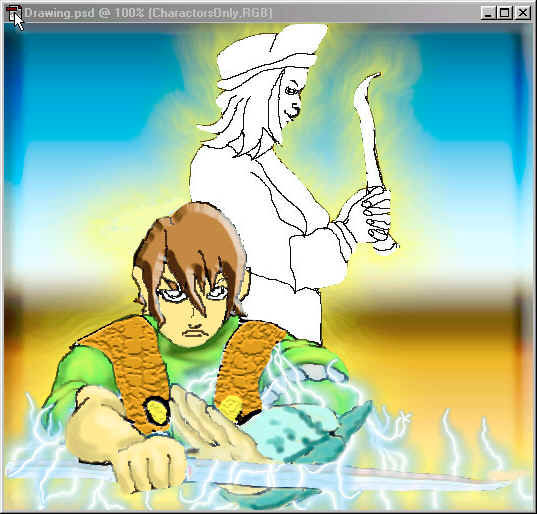
The last thing I did was I selected the Characters Layer and went to Filter>Eye Candy >Corona which creates an outer glow.
Good
luck and have fun. Don't
forget to work on the second character...