The Basics of Adobe's Smart Objects
About Smart Objects was created in CS2 version
Smart Objects are layers that contain image data from raster or vector images, such as Photoshop or Illustrator files. Smart Objects preserve an image’s source content with all its original characteristics, enabling you to perform nondestructive editing to the layer.
You can create Smart objects using several methods: by using the Open As Smart Object command; placing a file, pasting data from Illustrator; or converting one or more Photoshop layers to Smart Objects.
With Smart Objects, you can:
- Perform nondestructive transforms. You can scale, rotate, or warp a layer without losing original image data or quality because the transforms don’t affect the original data. (Some transform options, such as Perspective and Distort, aren’t available.)
- Work with vector data, such as vector artwork from Illustrator, that otherwise would be rasterized in Photoshop.
- Perform nondestructive filtering. You can edit filters applied to Smart Objects at any time.
- Edit one Smart Object and automatically update all its linked instances.
You can’t perform operations that alter pixel data—such as painting, dodging, burning, or cloning—directly to a Smart Object layer, unless it is first converted into a regular layer, which will be rasterized. To perform operations that alter pixel data, you can edit the contents of a Smart Object, clone a new layer above the Smart Object layer, edit duplicates of the Smart Object, or create a new layer.
Note: When you transform a Smart Object that has a Smart Filter applied to it, Photoshop turns off filter effects while the transform is being performed. Filter effects are applied again after the transform is complete. See About Smart Filters.
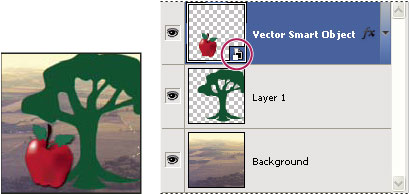
Regular layer and Smart Object in Layers palette. Icon in lower right corner of thumbnail indicates Smart Object.
Information above came from Adobe Help
How To Create Smart Objects
Do any of the following:
- Choose File > Open As Smart Object, select a file, and click Open.
- Choose File > Place to import files as Smart Objects into an open Photoshop document.
- Note: Although you can place JPEG files, it's better to place PSD, TIFF, or PSB files because you can add layers, modify pixels, and resave the file without loss. (Saving a modified JPEG file requires you to flatten new layers and recompress the image, causing image quality degradation).
- Choose Layer > Smart Object > Convert to Smart Object to convert a selected layer into a Smart Object.
- In Bridge, choose File > Place > In Photoshop to import a file as a Smart Object into an open Photoshop document. Note: An easy way to work with camera raw files is to open them as Smart Objects. You can double-click the Smart Object layer containing the raw file at any time to adjust the Camera Raw settings.
- Select one or more layers and choose Layer > Smart Objects > Convert To Smart Object. The layers are bundled into one Smart Object.
- Drag PDF or Adobe Illustrator layers or objects into a Photoshop document.
- Paste artwork from Illustrator into a Photoshop document, and choose Smart Object in the Paste dialog box. For the greatest flexibility, enable both PDF and AICB (No Transparency Support) in the File Handling & Clipboard section of the Preferences dialog box in Adobe Illustrator.
By now I'm sure you're thinking when do we really need to use Smart Object? I've been using Photoshop for years and never used a Smart Object.
So let's get started and see why Smart Objects are very useful.
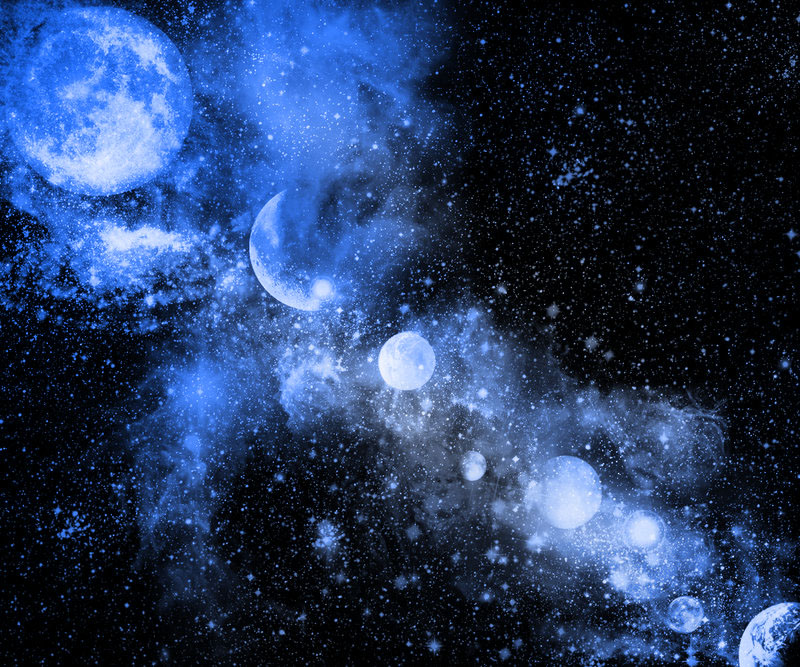
To get started, download the Solar System image below, this will be the background image and the Space Girl image will be the image to add to the solar system.
Right click on each image below > choose > SavePictureAs and download to your computer..
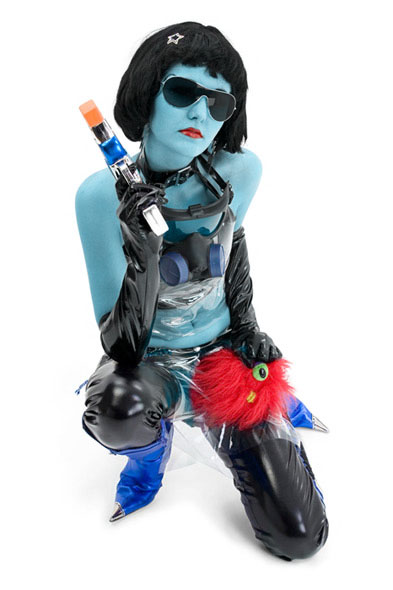
Once both images are downloaded to your computer, open both in Photoshop. Select the Space Girl image first in Photoshop.
Now go to the Tools Panel and select the Magic Wand
Tool.
With the Magic Wand
Next go to Select > Inverse to flip the selection from the background to the space girl. Because we want to add just the space girl to the solar system image.
Then go to the Tool Panel and select the Lasso
Tool.
In the option bar with the Lasso
Next left click and drag the Space Girl to the Solar System image.
Now go to Edit > Free Transform (Ctrl + T) so we can re-size the image. Select the Move
Tool and now hold down the Shift key and left click and drag on a corner anchor and make the Space Girl small. Remember the Shift key keeps the image that you're re-sizing proportional.
Make sure you click off the image so there isn't any selection around it, and it should look something like this.
Now select the Space Girl again using the Move
Oh man... that doesn't look the same image as it did before? Photoshop through out lots of the Space Girl's pixels when we made it smaller, so now what are we going to do?
To fix this go to Edit > Step Backward (beer is to use the shortcut Alt + Ctrl + Z). Go backwards until the Space Girl is full size and looks sharp again.
Now that looks better. So the moral of the story is if you're going to make something smaller, then you want to make it a Smart Object. It's not going to help if you need to make the image bigger than the original. But it will protect images when going smaller then making it larger again.
With the Space Girl selected. Go to Layer > Smart Objects > Convert to Smart Object.
Notice in the Layer Panel the little icon in the bottom right corner. This is the icon that let's you know that it's a Smart Object. Now that the Space Girl is a Smart Object, re-size it and make it small again.
Looks like what we had before.
So now Edit > Transform (Ctrl + T) and re-size her to the original size. How does she look. Pretty good!
Now you could say well I could have fixed it the way we did in this tutorial. That was to do the undo thing. Well...that works if you haven't closed the file because you still have the history. Remember the undo history is during a session. So let's say you made the Space Girl small and saved the file. Two weeks later or just the next day you open the file to work on the history is now gone and you're not going to like what you see if you decide to re-size it again.
We only used the Smart Object process in this one example, there are many other way's to use it. I did describe in the beginning of this tutorial other uses for Smart Object.